Table of Contents
Introduction:
In today’s fashion era, where you make your personality beautiful by wearing fashionable clothes, shoes, bags and different haircuts, then how can it be possible that your nails are not a part of fashion? Is it? Our nails add to the beauty of our hands and our person. Each and every thing that beautifies our personality plays an important role in increasing our self-confidence.
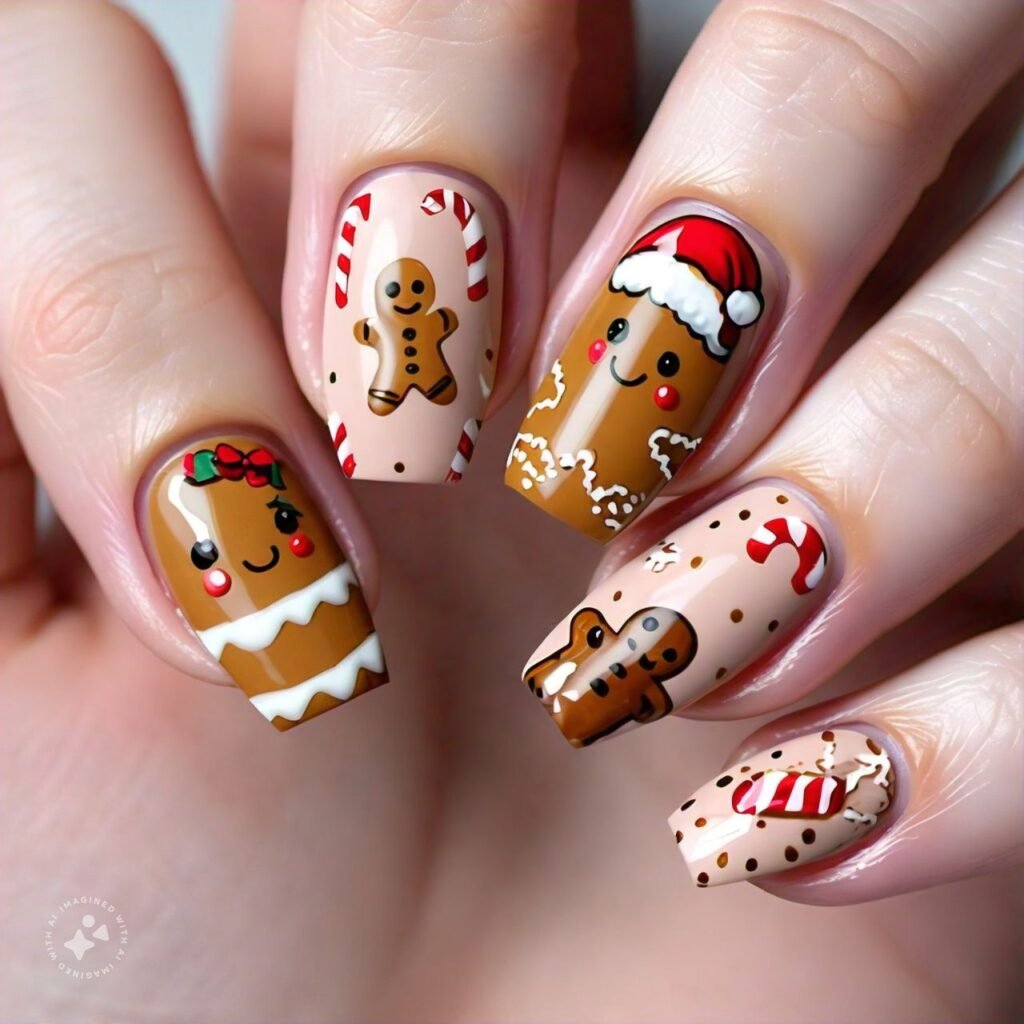
In this modern age, there are many such nail art. By which you can design your nails and decorate your nails in an attractive way. You can make your nails unique and attractive with the help of different beautiful colors patterns bats and different types of designs. Your beautiful nails make you stand out in the fashion world whether it’s a simple manicure or an intricate nail art. The most popular nail art in today’s nail art is the gingerbread nail it. It’s the perfect way to express the creativity within Nail It Up.

Material Needs for Gingerbread Nails:
How can you design gingerbread nail art on your nails? Before knowing all these, what are the required materials for gingerbread nails?
- Base Coat: So that your nails can be protected from any kind of stains, and the nail polish on the nails looks better.
- Nail polish: You will need different colors of nail polish like brown white green red. Mostly brown nail polish is used for gingerbread base and white nail polish for icing details.
- Nail Art Brushes: With this brush you draw different types of art on your nails.
- Dotting Tools: With the help of dotting tools dots are placed to select the location of candy buttons and beans etc.
- Top Coat: The job of the top coat is to seal and give shine to the design drawn on the nails.
- Nail Art Stickers or Decals: This step is optional, it’s up to you, whether you want to use it on your nails or not.
- Nail Polish Remover and Cotton Swabs: To correct any errors.
- Palette or Foil: It is added to nail polish to thin the nail polish.
Preparing your Nails:
Before doing gingerbread nails, it is important to prepare your nails. So that we can get the best results by preparing properly. Follow the following steps:
- First of all, wash your hands well and also clean your nails well. If any nail polish is already applied on the nails, it must also be removed.
- The length or shape of your nails you want Trim your nails in the same way.
- Buffer the surface of your nails. So that a smooth canvas is created on your nails and the gingerbread art can be drawn on the nails properly. •Before preparing gingerbread nails, it is mandatory to apply a base coat on your nails so that your nails can be protected and do not get any kind of stain on them.
Step-by-Step Guide to Creating Gingerbread Nails:
Now that you have all the ingredients to prepare gingerbread nails and your nails are ready. So now let’s see how gingerbread nails are prepared. In this we will learn to create simple and attractive gingerbread nails designs step by step.
Step 1: Apply base color:
You can use any color you like to make the gingerbread base. But I will use brown nail polish in it. One more thing to remember is to always apply two layers of base color on your nails. And when the first layer is dry, then apply the second layer. After the second layer dries well, start step two.
Step 2: Shape Gingerbread Nails:
To create gingerbread nails, you can use the brushes in the material mentioned above. With the help of these brushes, draw a gingerbread man outline on each nail.
Step 3: Icing Details:
Since I have used brown base color. So I will be doing a white combination for icing on my nails. Apply up-white nail polish on your nails with a fine brush, gingerbread man eyes, smiley arms and icing trim on legs. So that it looks prominent on your nails.
Step 4: Candy Decoration:
With the help of dotting tools you can decorate your nails with candy buttons or beans etc. If you want, you can also use colored nail polish like red and green to dot around the gingerbread man on your nails. It’s up to you.
Step 5: Seal with a top coat:
Now that your gingerbread nails are all done and thoroughly dried, apply a top coat. So that your ginger bead nails are not damaged and the artwork created on them is sealed there. This top coat is also important so that the gingerbread design on your nails lasts longer.
Additional Design Ideas:
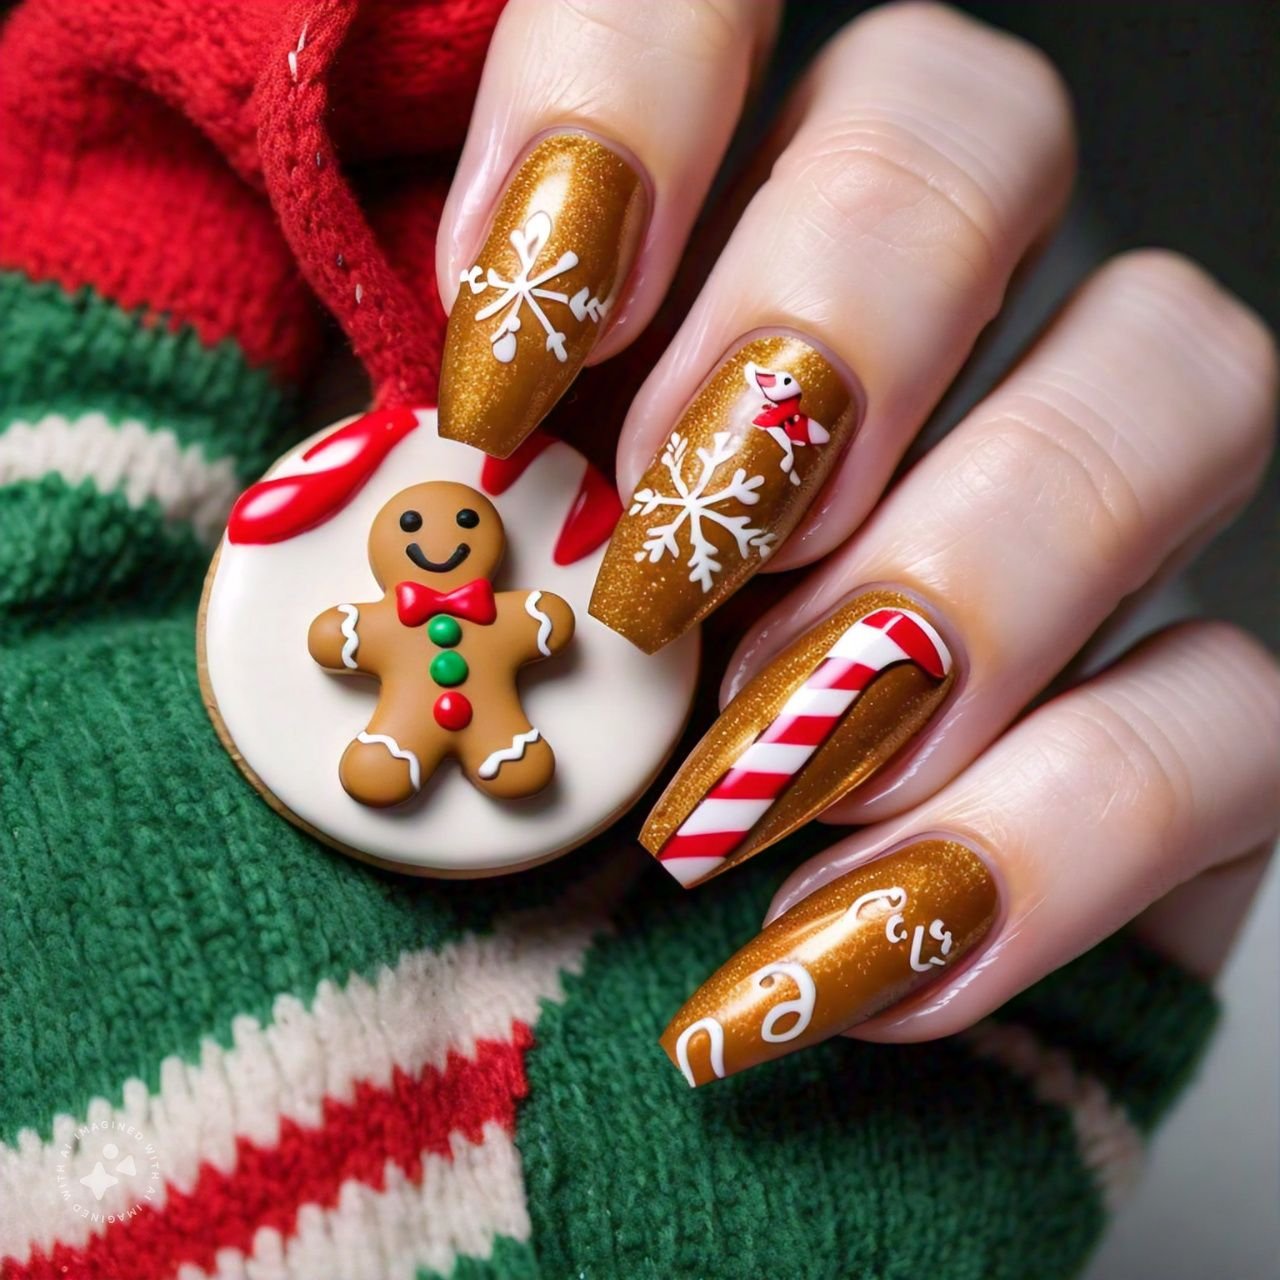
Here are some additional and popular gingerbread theme nail designs. By which you can make your nails unique and more attractive in festive season as per your choice.
1) Ginger Breadman Design:
Gingerbread Man is a popular nail art in which you draw a man on your nails. We have seen its details above.
2) Gingerbread House Designs:
You can also create pictures of small gingerbread houses on your nails which make your nail art more beautiful.
3) French Mencore Gingerbread Style:
In this nail art you can draw French manicure on your nails in a festive style.
4) Gingerbread Patterns Nails:
You can also decorate themed gingerbread patterns and other modifications on your nails.
5) Glam Gingerbread Nails:
In this nail art you can fill gingerbread man or gingerbread house with glitter and shimmer to make your gingerbread nails look more shiny and attractive.
6) Cartoon style Gingerbread Nail:
You can also draw different cartoons on your nails or make the gingerbread man more funny and colorful in cartoon styles.
Caring for your Gingerbread Nails:
After nail art and decoration, it is very important to take care of the nails. So that these ginger bead nails last longer and look shiny. Above we have seen gingerbread nail art procedure in detail now we will know how to take care of gingerbread nails. With the help of the following nail care tips, you can maintain the beauty of your nails and prevent them from getting damaged.
1) Apply Top Coat Regularly:
We also saw above that a top coat is specifically used to protect gingerbread nails from damage. Repeated application of top coat preserves your nail design and prevents chipping.
2) Keep your criticals soft:
For this you can use up cuticle oil. Repeated application of cuticle oil on gingerbread nails keeps your nail cuticles healthy and moisturized, and it also keeps your gingerbread nails moisturized and the nail polish color doesn’t fade or fade.
3) Be gentle:
After gingerbread nails, special care should be taken, too much pressure on the nails or hard work should not be done on the nails, doing so may spoil the designs of the nails. Avoid using your fingernails as tools, such as opening or opening things.
4) Protect from Harsh Chemicals:
Use gloves when doing household chores or cleaning. So that your nails are protected from all cleaning chemicals, otherwise the nail polish used on your nails may become damaged and dull.
About Author
I’m Ayesha Iqbal, a student studying MBBS at Services Institute of Medical Sciences (SIMS) Lahore. I write about health for “GenZ Cares” because they care a lot about young people staying healthy. I do research and try new things to learn more about how to keep everyone feeling good. My articles focus on topics like nutrition, exercise, mental well-being, and ways to lead a healthier lifestyle. Through my writing, I aim to share valuable insights and practical tips that can make a positive difference in people’s lives.
Reviewed By

This article is reviewed by “NASHIT ALIYAN“, a certified Surgical Technologist from Government College University Faisalabad under section 2017-2021. I am 17A medical officer as well as Strategic and financial planning expert and Proficient in surgical field. Me and my team use the latest technology to perform complex surgical procedures. I recommend to “GenZ Cares” because they are really hardworking in their work and care a lot about youth to staying healthy.


2 thoughts on “Gingerbread Nails: Step by Step Guide”